Launching a Metro.css + Node.js site on AppHarbor
Last week I contributed a tiny piece of code to the Code52 Metro.css project. My contribution was a node script that creates a boilerplate Node.js website for you using the Metro.css styles, Express and wires up the LESS compilation.
Today I am going to run you through using this code to generate a site and push it to AppHarbor, who now support hosting Node.js sites.
I assume that you have Node.js and npm installed on your dev machine and referenced in the path. All of which should happen if you use the excellent Windows Installer package.
I also assume you have git installed and that you have created your AppHarbor account and added a new site. I have blogged about doing this before, their site has been updated since but the process is fairly similar.
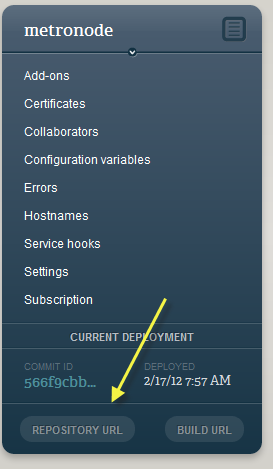
While at AppHarbor you will need to do two things. The first is to take a copy of your repository URL, which is now accessed by pressing the button shown in this screenshot.
The second is to turn on file system write access. You do this from the settings page by enabling the checkbox shown below and hitting update application.
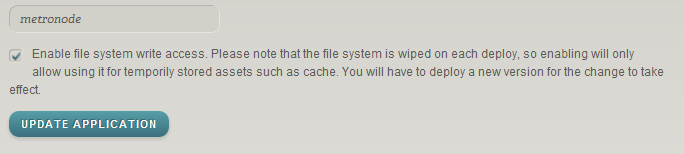
What this does is allow the LESS compiler to generate and cache CSS files on demand, rather than having to compile them in a build step.
Now let’s jump to the command line.
First we need to clone the metro.css repo from GitHub and jump into the node folder, which contains the scripts we need.
git clone https://github.com/Code52/metro.css.git
cd metro.css/node
Now we need to use npm to install the dependencies required by the script.
npm install
Next we generate our site, change to the generated folder and install the dependencies for our site.
node metro –i c:\projects\metrosite
cd \projects\metrosite
npm install
Simple as that, our site has been generated and is ready to be deployed. This whole process will look something like this.
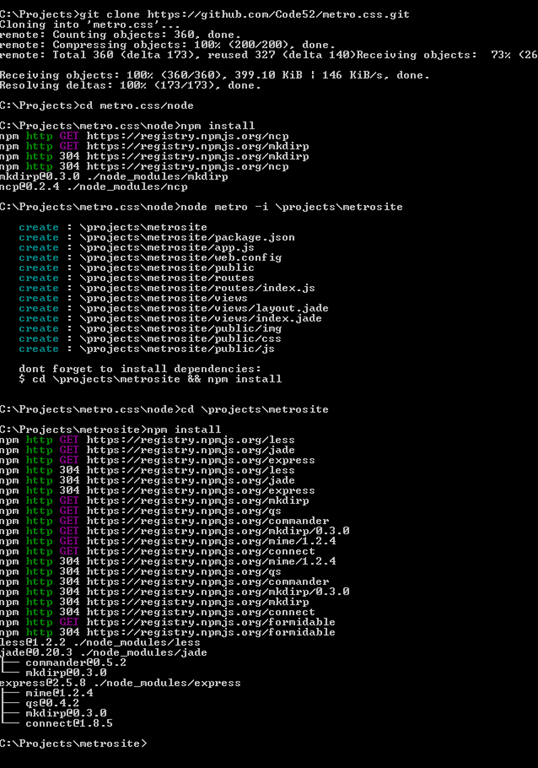
If you want to see it running locally, just fire it up (node app.js) and point your browser to localhost using the port specified.

So to deploy to AppHarbor, we need to first create a git repository for our site, commit the changes and then push this commit up to AppHarbor. From the folder that contains our generated site (c:\projects\metrosite in my example) we do the following.
git init
git add .
git commit –m “Initial commit”
git remote add origin <YOUR APPHARBOUR REPOSITORY URL>
git push origin master
Which will look something like this, though I supressed the commit output for the purposes of the screenshot.
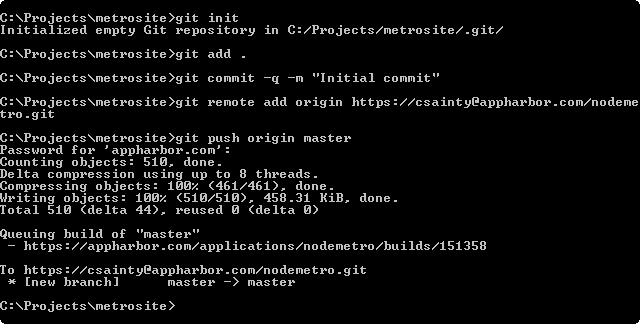
This sends your site up to AppHarbor, where it is loaded up and made live.
Back at AppHarbor, your application page will show the current build status. Usually the build will be fairly instant, but if the Status column has a little spinning indicator, then you will need to wait for the build to complete. Give it the occasional refresh.
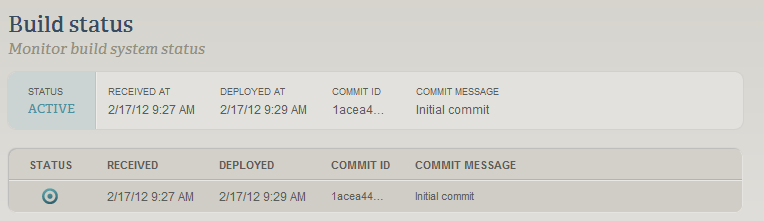
When that is done, click the “Go to your application link” and marvel at your creation.
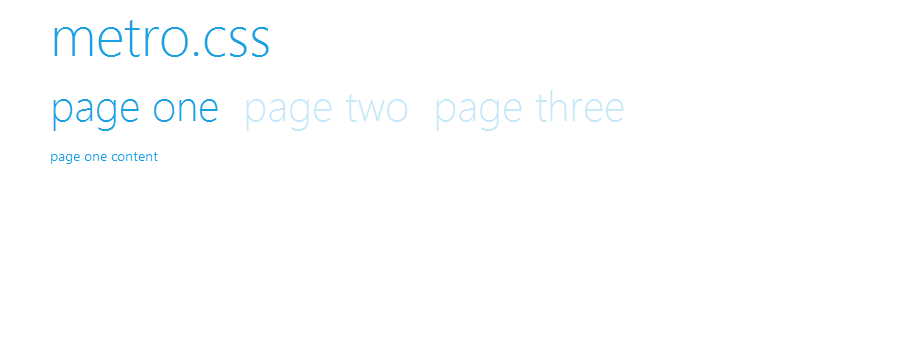
See my copy live at http://nodemetro.apphb.com/